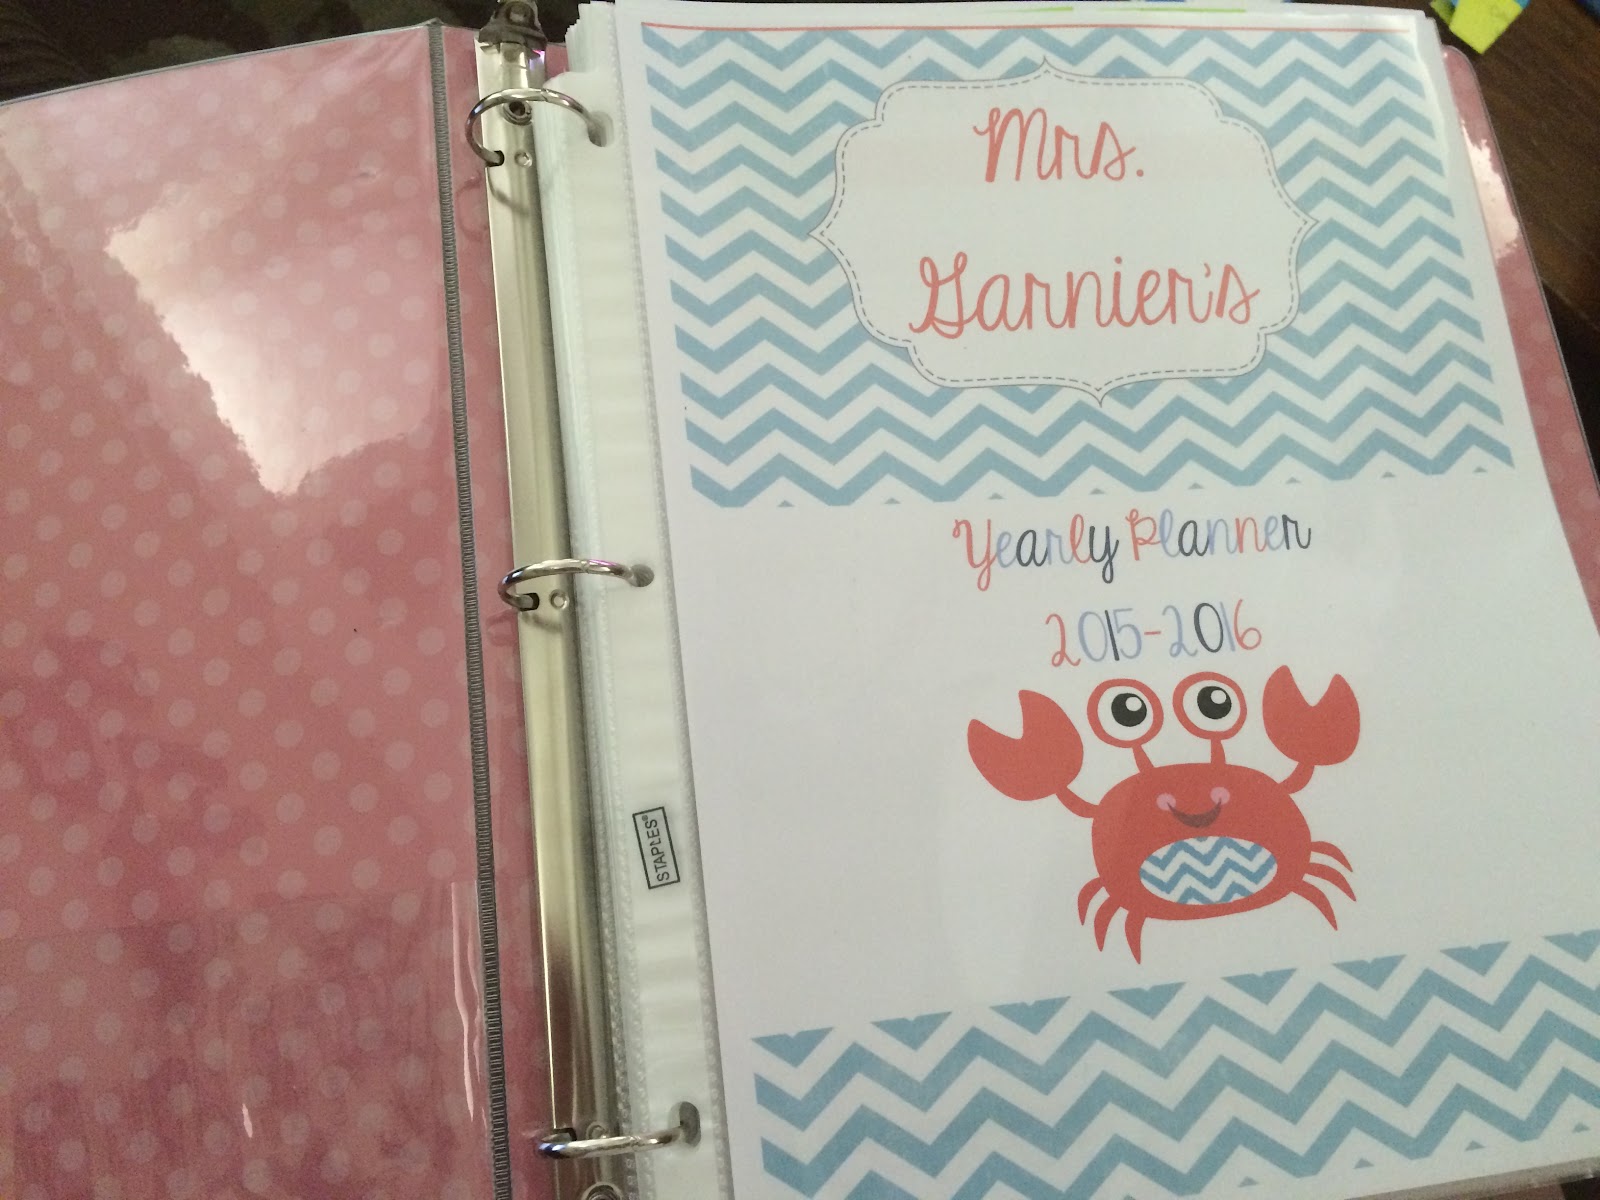
Behavior Clip Charts are a very common thing in today's classrooms. I love how it recognizes students who are working hard and warns students who aren't. I think it helps students learn to self-regulate their own behavior- I don't need to yell. Most of the time I just move a clip and I see a change in someone's behavior right away. Plus it's not a distraction to the entire class.
I had a traditional clip chart this past year with multiple signs hanging from a thick ribbon, but I forgot to take a picture of it. I saved it, along with all my other Mo Willems classroom themed items. This year, I wanted one that really matched my new classroom's beachy, ocean, nautical theme. So today I made the surf board behavior chart:
I had a traditional clip chart this past year with multiple signs hanging from a thick ribbon, but I forgot to take a picture of it. I saved it, along with all my other Mo Willems classroom themed items. This year, I wanted one that really matched my new classroom's beachy, ocean, nautical theme. So today I made the surf board behavior chart:
 |
| The finished Surf Board Behavior Chart |
-very large piece of cardboard
-pencil
-box cutter or X-acto knife
-pencil
-box cutter or X-acto knife
-acrylic paint
-painters tape
-large paint brush
-printer & computer
-packing tape or scrapbooking glue runner
-fake starfish
-clothes pins
-painters tape
-large paint brush
-printer & computer
-packing tape or scrapbooking glue runner
-fake starfish
-clothes pins
Step 1: The first step is to draw your surf board shape out on your large cardboard. I got my cardboard from the packaging of our patio set we got this spring. However, I was able to get cardboard for free from a local discount furniture store for free this past spring for an art project at school. So be resourceful! Also I think Home Depot sells some if you need to buy it. I chose to do a pretty large size with a flat bottom so I can just lean it up against the wall at school. You might also like this shape: Surf Board Pin from Pinterest.
Step 2: Cut out your surf board and paint it! I just used regular acrylic paint from the craft store. I had a lot of green paint at home, so green it is! I took a picture close up to show you that I didn't paint it a full, solid shade. I left it streaky- I thought it looked beachy.
Step 3: The next step is to use your painters tape and tape off a section right down the middle to make your white stripe. You might want to flank that stripe with two smaller colored ones for an even more authentic look. Acrylic paint dries pretty quickly so I was able to do a couple of coats right away and then peel off the tape. Then I marked off the sections for my clip chart and painted those blue.
Step 4: I painted my fake starfish which I picked up at the Christmas Tree Store. I painted the words on too, but after doing the top I didn't really like the irregularities and so I decided I would stop there and paint over it to use printed signs instead.
Step 5: Next I used this free clip art frame from TpT and printed off my signs. I decided not to go with beachy phrases such as Overboard or Surfs Up or All Hands on Deck, because I thought it would be hard for my 1st & 2nd graders to understand what exactly that was. I don't want any confusion with behavior! Plus the chart lingo I used is what my kiddos last year are used to, and since they roll over with me, I already have half a class who "gets it." I attached the signs with packing tape, made into loops on the back, but then I ran out so I used scrapbooking glue runner/tape runner. My surf board won't be in a high traffic area so I don't think little bodies will be near it a lot so this should be sturdy enough.
And that's it folks! It is really a quick project. The only thing left I am going to do is print off the kids' names on little sea creatures and laminate those and attach to the clothespins. That will add another cute element to this.

Step 2: Cut out your surf board and paint it! I just used regular acrylic paint from the craft store. I had a lot of green paint at home, so green it is! I took a picture close up to show you that I didn't paint it a full, solid shade. I left it streaky- I thought it looked beachy.
 |
| The light coat of paint- you can see the cardboard through it. |
 |
| Marking off the stripes with painters tape. |
 |
| Stripes are around 1 cm. |
 |
| Just a light coat of blue to separate the sections. |
 |
| Letting it dry! |
 |
| Painted on the words at first. |
 |
| Decided I wanted to print out signs instead. |
 |
| Just a little green paint will fix that. |
 |
| The finished product! |
 |
| A little bit closer. |