Tuesday, July 7, 2015

Teacher Toolbox

I am addicted to Pinterest! I can't even watch TV without getting bored and going onto Pinterest. So many good ideas! One idea that I have seen a thousand times is the Teacher Toolbox. I never had a use of one last year because I kept all of these things in my desk.

Well... this year I am not moving my desk from my classroom upstairs to my new one downstairs. I've moved it from being caddy-cornered to straight and that was an extremely hard feat!  More than that, I have decided that my desk takes up so much space unnecessarily! I use the top of it for work space, but the inside just keeps things that I don't use on a day to day basis. I'd be better off storing the birthday, holiday items, etc. on baskets on shelves or in a closet and putting my files on a file stand and calling it a day! So that's what I have decided to do when moving into my new room. I'll grab some trapezoid tables that are in storage and use those as a reading group table slash my desk! I'm really excited about it.

I also had a curriculum bookshelf next to my desk and it holds so many reading books. I'm looking forward to moving them and other unnecessary teaching books away into storage and only pulling out what I need, when I need. Less clutter!

Hence my opportunity to make this wonderful Teacher Toolbox! First, Home Depot by me, did not have this box. They didn't have anything similar either. I was so sad! All they had were small boxes that looked like bead boxes or things that didn't have a complete front to the drawer, it was more like a tray. So off to Lowes I went after I looked it up online and found that these were in aisle 16. I hate going into a hardware store and looking like I don't know what I am doing. Even though I made a beeline to aisle 16, I still got asked if I needed help. (-: Anyway, this toolbox was very affordable and smaller than I had expected- which was a good thing! I don't need a huge toolbox on my shelf to house office supplies.

I was going to make my own labels but so many kind people on TpT had them for free so I found this great set from Amanda Hoffman (Amanda Hoffman Teachers Pay Teachers). I simply changed the font and added my clipart and it matched my new classroom theme. Thanks Amanda!

There is also a lot of talk on Pinterest and teacher blogs about whether to use Mod Podge to attach labels to Sterlite or drawers of any kind or to just tape it. I feel that taping is sufficient. I'm the only one who will be going in and out of these drawers, unless I send a responsible student over for a rubber band once in a while, so I can't imagine wasting my time with Mod Podge. Besides, I might change my classroom theme and want to switch out these labels a couple years down the road.

If you'd like to get my labels for FREE, please visit my TpT page: My Teachers Pay Teachers

Don't mind my fuzzy blanket! I wanted to assemble it while sitting on the futon out on my screened in porch!

Pens fit- but on a diagonal.


Yearly Planner

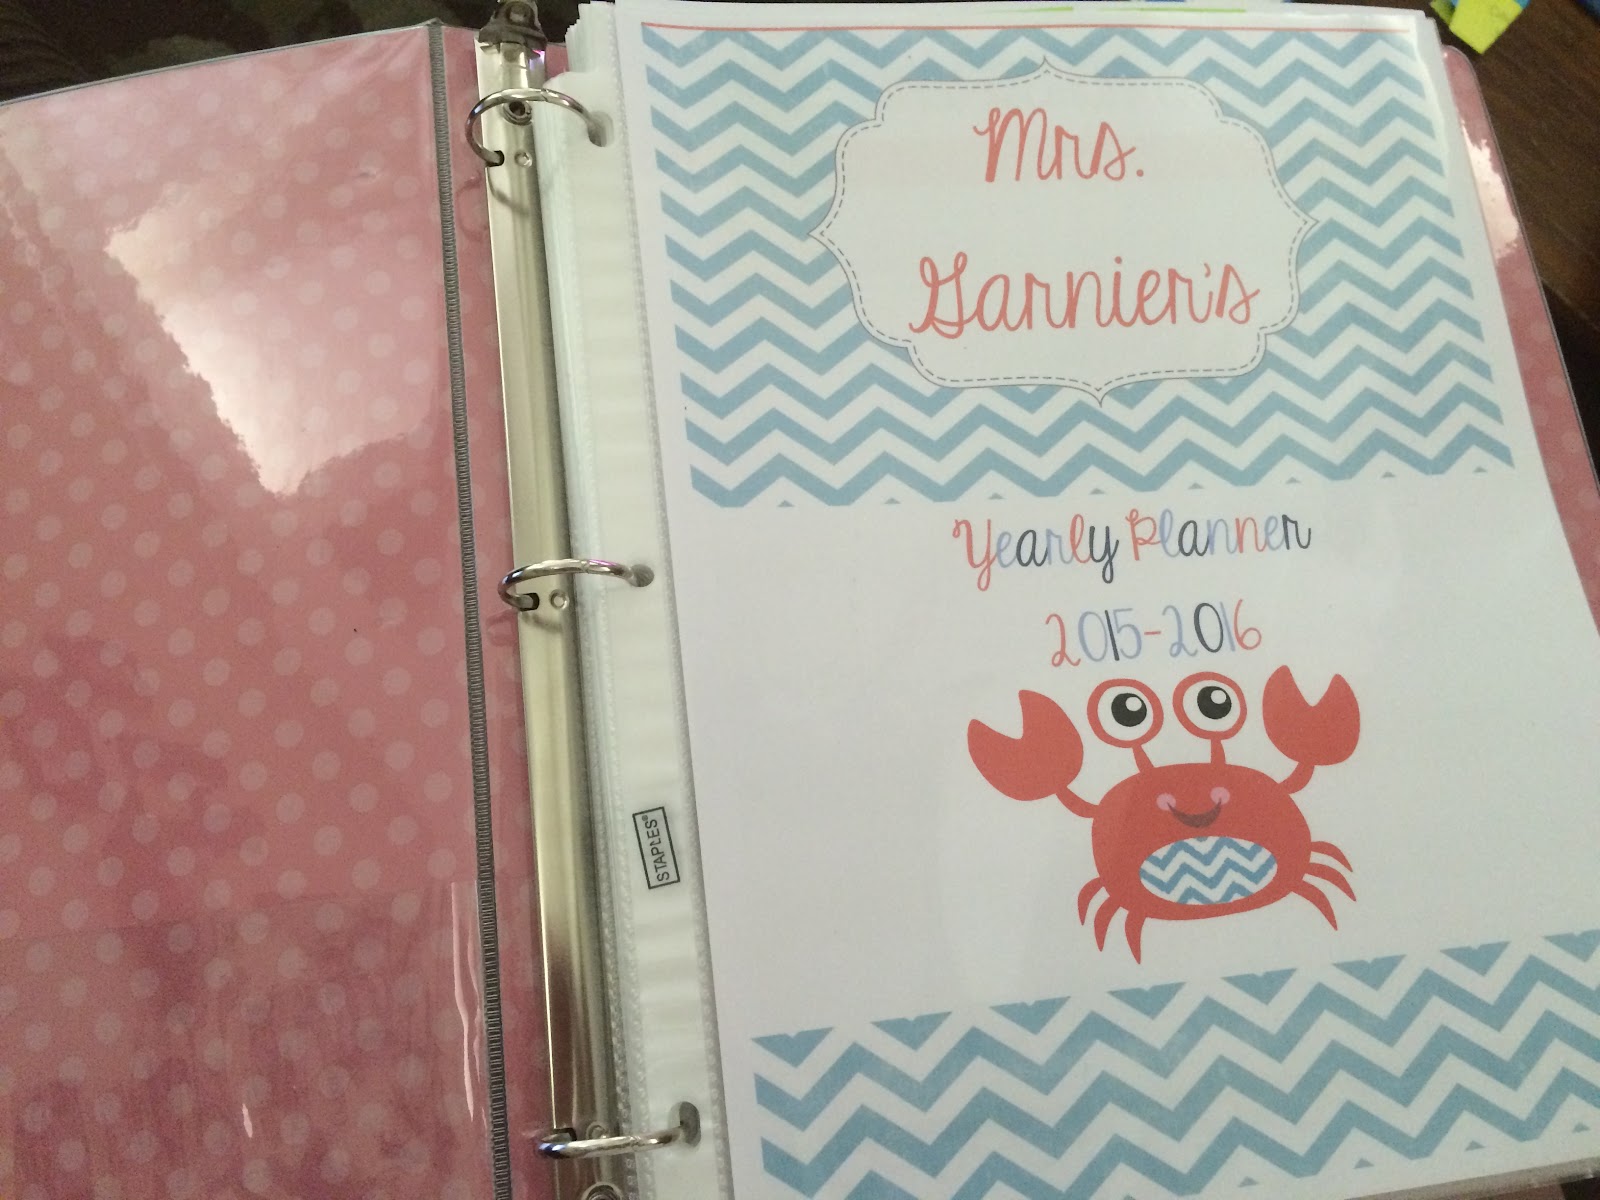
To begin planning for the 2015-2016 school year, I wanted to update my yearly planner. Last year I was pretty sure I got a free one from Tami from Learning and Teaching with Preschoolers  (Tami's Website). When I went to update it for the next school year, it was only $3, but I was hesitant, because I know I could make my own. Plus I am all about matching- so to have a new yearly planner that matched my new classroom theme would be amazing

So I went to work creating one in my own theme, but using elements from Tami's that I couldn't go without. I love using the post-it notes. I can move things around, if an event gets changed from one date to another.... I can pencil things in, without using a squeaky pencil! I love the colors of the post-it notes as well! How fun!

You can pick one up for yourself in my TpT store: My Teachers Pay Teachers Site


The cover to my Yearly Planner. With the crab that I edited all by myself!

A section that lists the months so I can record the student's birthdays.

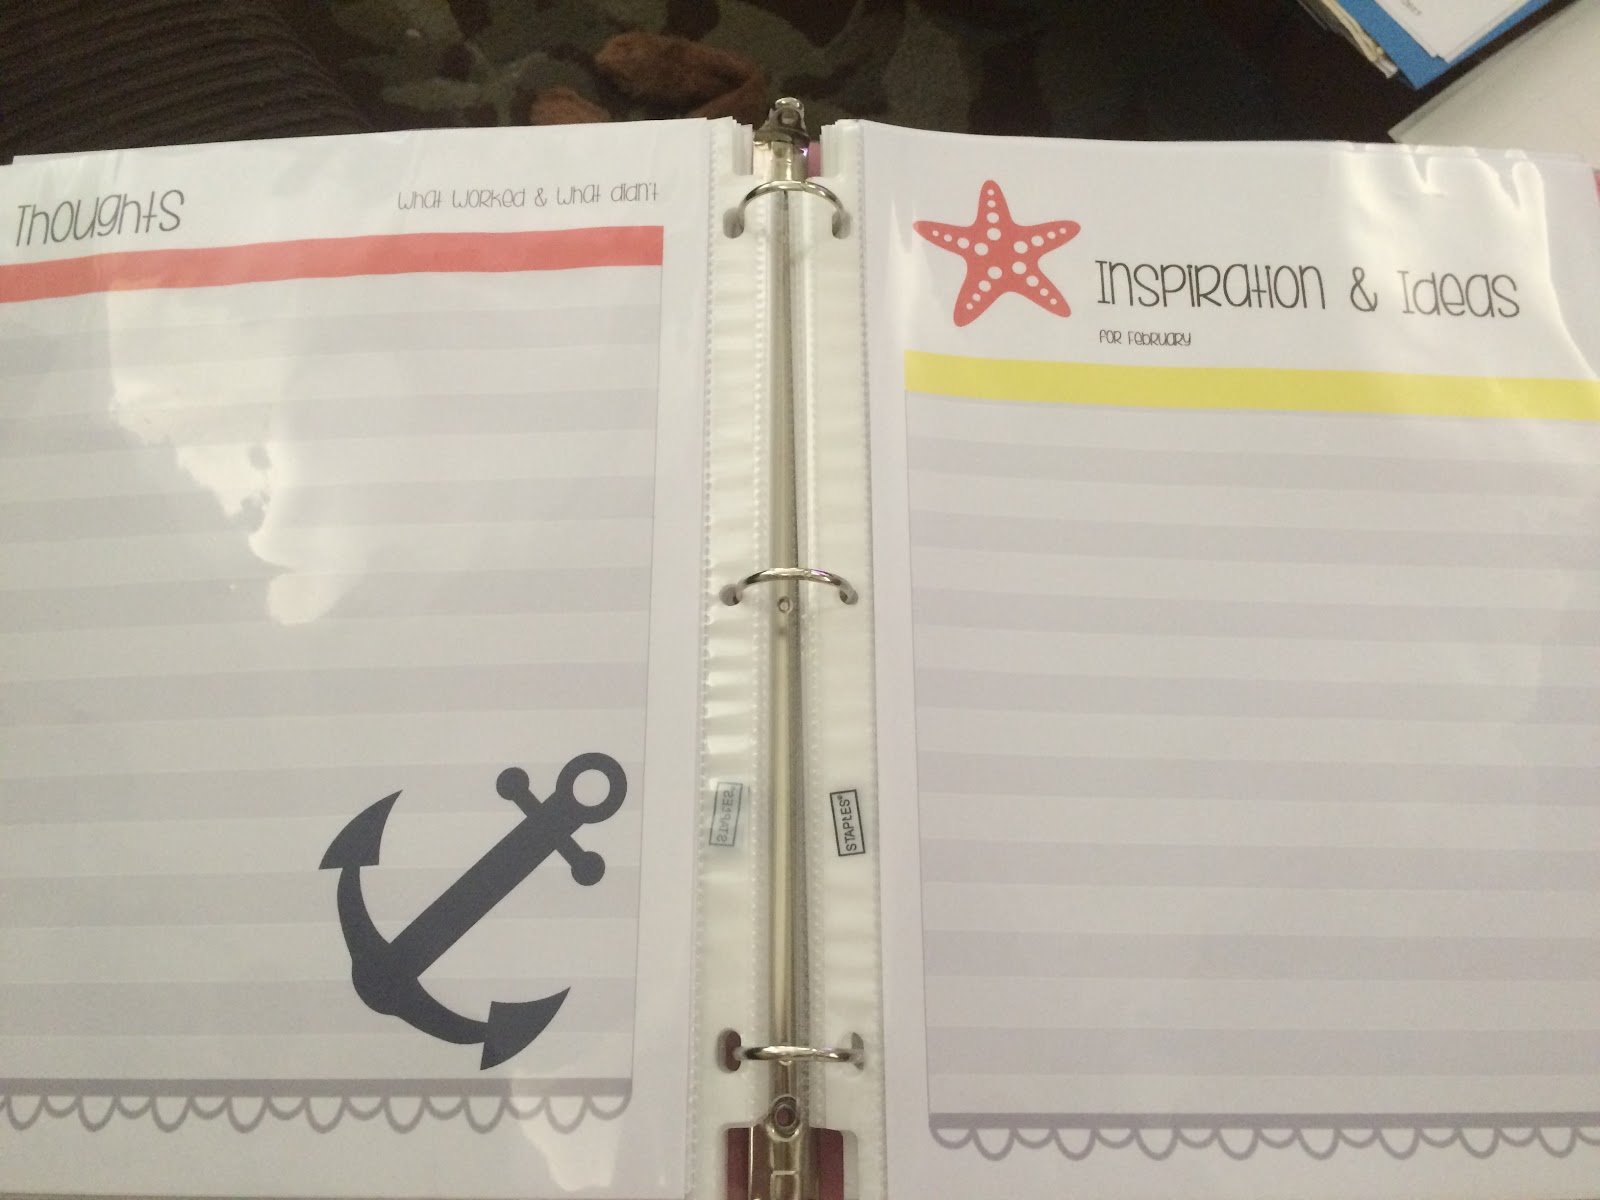
After each month, there is a Thoughts page to reflect and leave myself notes for next year. Before each month there is an Inspiration & Ideas page.

Each month is a double page spread. Fits small post-it notes perfectly!

Lastly, I'm always scurrying to find a parent's email address, etc. so now I don't have to ask the secretary in the middle of the year for information.

Welcome to my Blog!

Welcome to my blog! I have been a teacher for 1 1/2 years now and I've been on so many teaching blogs and learned so much from many great teachers. I'm so lucky that my husband was able to help me design this one- who am I fooling? He did all of the work! Thanks Aaron! So glad to be getting started on my own blog and have a place to share all my projects and pictures.

I thought I would start off my with classroom from this previous year(2014-2015). I started teaching 1st and 2nd grade in February 2014, midyear! So I didn't get to change much in the classroom, but by summer, I was itching to make it my own. So here is what I came up with: a room based off of Mo Willems books, focusing on Pigeon, Elephant and Piggie. I loved using these books all year through. My polka dotted border really brought all the colors together.

I learned a lot with only a small class of 8, which later changed to 9 in February 2015. I'm able to do some activities which some teachers in public schools may not get to because of such a small class size, but I am also juggling two grades at once. The previous half year I only had 6 students. I am projected to have around 12 this upcoming year! So God has been preparing me!

Although I loved my little classroom with the big windows, I am thrilled to be moving to a larger one this year. The first time in over a decade that 1st and 2nd grade will not be in this particular classroom at our school. Unfortunately, my new classroom only has one small window, but it does have a display window out into the main hallway. Looking forward to displaying student work there.

Here are some photos of my little classroom:


This is my little table where I did reading and math groups. To the left was my Literacy Center, which I later expanded with an entire bookshelf of activities.


This is my Word Wall and Math Center as well as part of my Morning Meeting carpet area. 


Here is my Morning Meeting/circle area. I loved my large windows!


This picture was from standing in the center of the room. The Listening Center is under the window. That corner of "stuff" is my desk area and curriculum bookshelf. Homework board and other odds and ends behind me. All ready for the first day of school!


I had 9 students last year, groups of three worked nicely. I used book socks as HW folder holders on the student's chairs.


Me all ready for the first day!


At the end of the year, I realized I hadn't taken a picture of my bulletin board outside my classroom. So here it is at the year's end.


This is my little set up outside my classroom door. I had an entire hallway that I only shared with the library. It was nice to have a place to put the hand sanitizer, where students could get some on their way in each time.
Although it is July, I am in full swing preparing for next school year. I am enjoying the time off, but I am so interested in prepping things that it is keeping me busy in between going to the beach, cleaning, sewing, family vacations, and spending time with my pups.